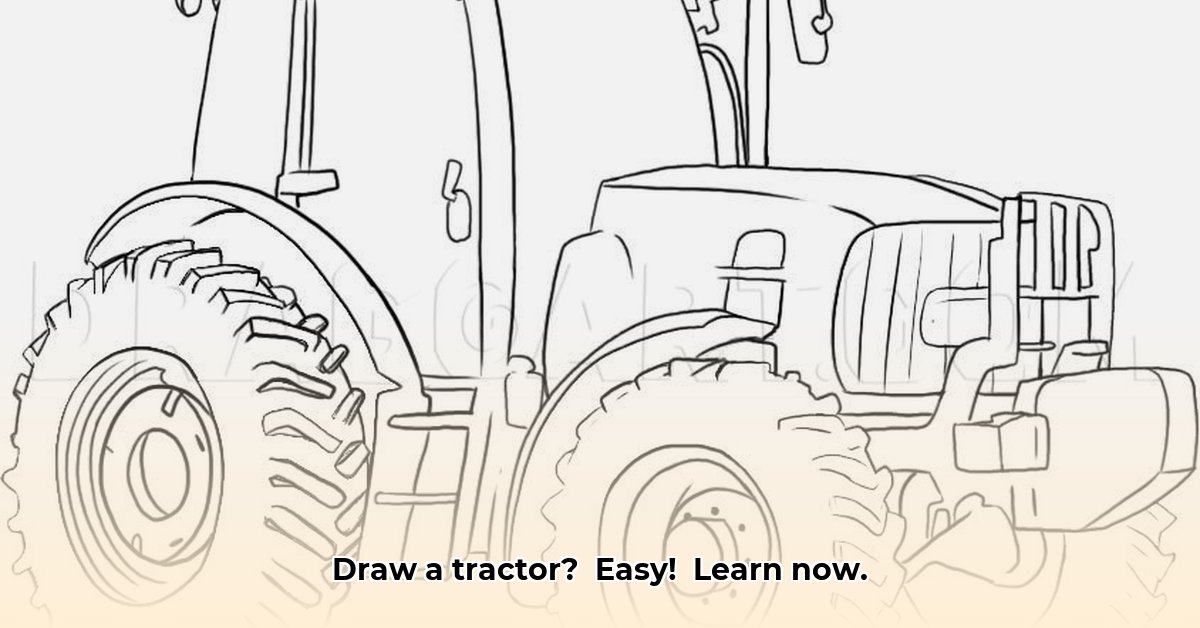
Want to draw a cool tractor but don't know where to start? This easy guide will show you how! It doesn't matter if you've never drawn before – we'll take it one step at a time, and before you know it, you'll have a fantastic tractor on your paper. For more tractor drawing inspiration, check out these [amazing resources](https://tractor-art.pages.dev). Let's get started and have some fun!
How to Draw a Tractor Step by Step
Ready to draw your very own tractor? Even if you think you're not an artist, this step-by-step guide will show you how easy it is! We'll build our tractor piece by piece, just like assembling a real one, but with pencils and paper instead of wrenches. Let's get started!
Step 1: Building the Tractor's Body
We'll begin with the foundation: the tractor's main body. Imagine a long rectangle – a slightly elongated box. This forms the chassis, the main part of the tractor. To make it look more realistic, make the bottom of the rectangle a little wider than the top; tractors aren't perfectly square! This simple shape is our starting point. Did you know that the size and shape of the tractor body can vary greatly depending on its purpose?
Step 2: Adding the Wheels
Now, let's add some power! Draw two large circles at either end of your rectangle. These are the back wheels, the powerhouse of our tractor. Don’t stress about making them perfectly round; even slightly imperfect circles add character! Notice that these back wheels are probably a bit bigger than the front ones – that’s how real tractors usually look. Real tractor wheels can have intricate tread patterns; we'll keep it simple for now!
Step 3: The Front Wheels
Next, draw two smaller circles near the front of the rectangle. These are the front wheels, usually smaller and closer together than the back wheels. These help the tractor steer. They're like the tractor's way of turning – just like a car's steering wheel! Interestingly, the size and placement of these wheels impact the tractor's maneuverability.
Step 4: The Tractor Cab
Time to add the driver's space! Draw a smaller rectangle or square on top of the main body. This represents the tractor cab — the enclosed space where the driver sits. It's usually positioned slightly off-center, towards the back.
Step 5: The Exhaust Pipe
Tractors work hard, and they need to let off some steam! Add a short, slightly curved line coming up and out from the top of the tractor's body. This is the exhaust pipe. It's a small detail, but it adds to the tractor's realism. Ever wondered how much exhaust a tractor produces? It varies considerably based on engine size and activity.
Step 6: Adding Attachments
Now for the fun bit: the attachments! Draw a simple shape in front of the front wheels, like a rectangle or smaller box. This is a placeholder for whatever work the tractor might be doing – a plow, a bucket, or anything your imagination creates! Different attachments allow tractors to perform a wide variety of tasks, right?
Step 7: Shading and Texture
This step will take your drawing from a simple sketch to a more detailed image. Adding shading gives your tractor depth and dimension. Darken areas where shadows would naturally fall, such as under the cab or the bottom of the wheels. Add lines on the wheels and body to suggest texture – this adds realism. Adding shading enhances the three-dimensional effect, don't you think?
Step 8: Final Touches
You've done it! You've drawn your very own tractor! Wasn't that easier than you thought? This is just a starting point; practice makes perfect. Don't be afraid to experiment; try different shapes, add more detail, or draw a completely different type of tractor.
Tips for Drawing a Tractor Successfully
- Keep it simple: Focus on basic shapes first.
- Have fun: This should be enjoyable!
- Practice regularly: The more you draw, the better you'll get.
- Use references: If you're stuck, use images of real tractors as a guide (but don't copy!).
Now you know how to draw a tractor step by step! Go ahead and create your own unique tractor masterpiece! Remember to have fun and keep practicing. You'll be amazed at how much your drawing skills improve over time.
Key Takeaways:
- Drawing tractors is a fun way to learn about agriculture.
- Step-by-step tutorials make learning visual skills easier.
- This accessible method can spark interest in farming.
Let's get started on your tractor drawing adventure!